July 14, 2021
Bike Packing for Triathletes: A Guide to Training in the Wild
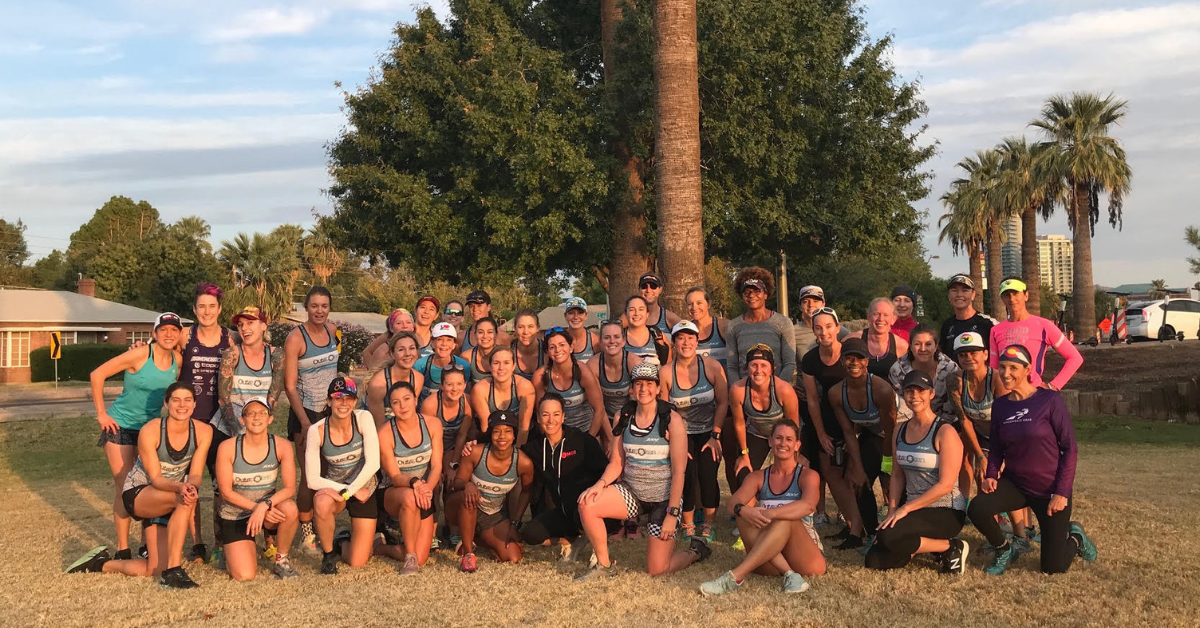 Outspoken Women in Triathlon Summit Returns Bigger than Ever
  Driving the Lamborghini: Productivity and the Power of Paper
  5 take aways from the Compete Sports Diversity Summit
 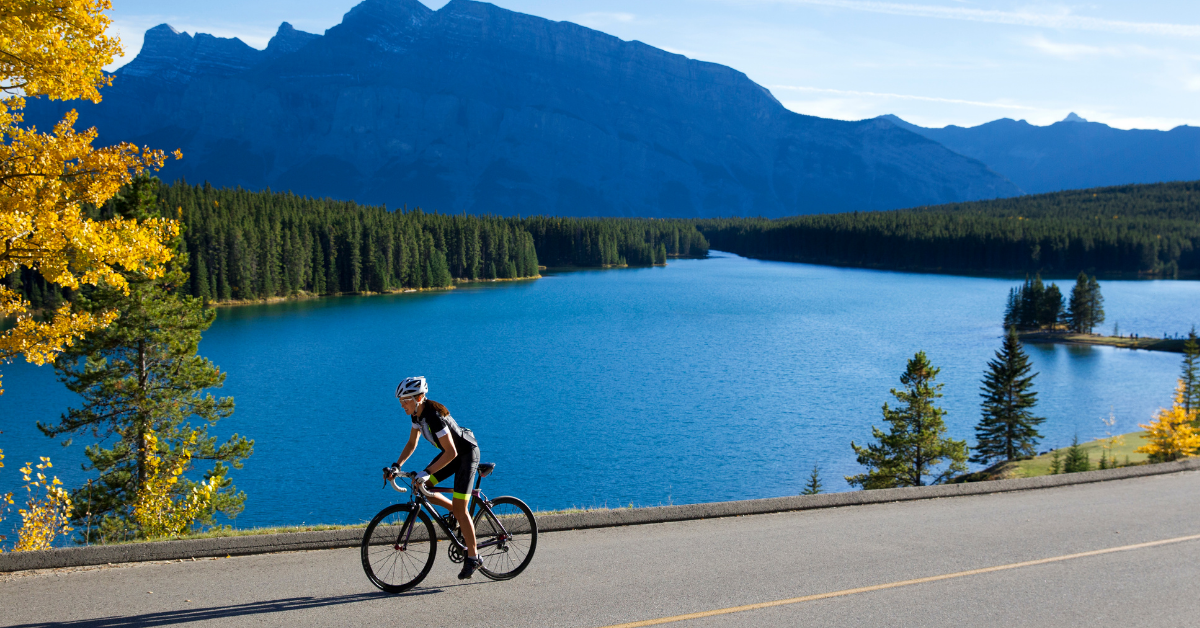 Simple Tips to Hone Your Bike Handling Skills
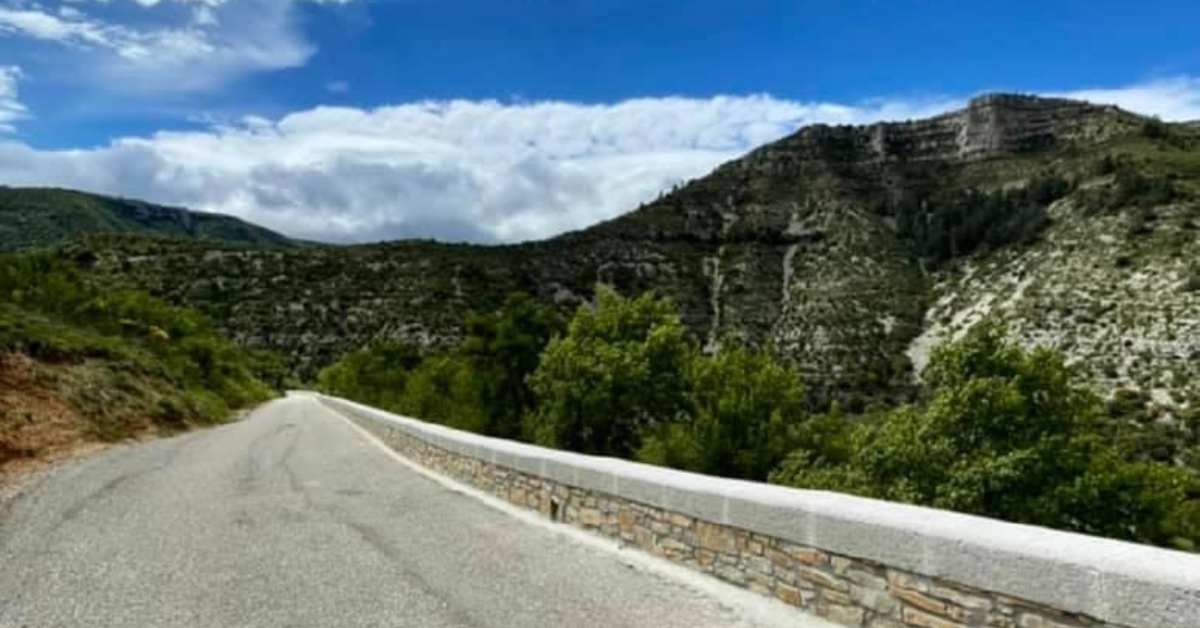
Triathlete and coach Gyl Golden details how she incorporated triathlon training into her recent bike packing trip to make the most of both the adventure of the trip and still fit in great training sessions along the way.
By: Gyl Golden
This summer I have decided to venture into the world of bike packing. I am not an expert on the subject but I am an exponentially curious newcomer. So why listen to me? I am going to take you along on my adventures and hopefully some misadventures while I wade through all of the information out there on the internet with the hopes of providing you with the most succinct advice possible for combining bike packing and training. I see bike packing as a combination of biking and camping as well as a way to have a real adventure with very few rules. Just hopping on your bike to go wherever you feel, stop wherever and whenever you want and explore independently is a very compelling concept.
Like anything worth trying, the subject is vast so I plan to break things down as simply as possible. I will also focus mostly on bike packing as it pertains to triathlon training. Therefore, I’ll spend more time discussing bike bags for bike packing as opposed to panniers. As the name implies bike packing bags are usually what comes to mind when we hear bike packing. In this first installment I offer suggestions to getting started.
The Bike
First and foremost is the bike. Before I cover the types of bikes, I should say that really why not just start out with a bike you already own. There’s no need to spend a lot of money at the start. Use the bike you are most comfortable on and make a few adjustments such as getting a more comfortable saddle. Or for example, if it’s a road bike, depending on the terrain, it may just mean buying wider wheels to support a wider tire.
First think about where you plan to ride the bike, mostly meaning what type of terrain. Then consider some of these options.
Road bikes are meant for speed so they will be lightweight, stiff and mostly intended for carrying the weight of the cyclist. They are designed to be used on smooth road surfaces.
Gravel Bikes are versatile and lightweight. If you will be riding on a variety of surfaces such as dirt roads, gravel and paved roads this might be the ideal bike for you.
Mountain Bikes are designed for going off-road. Almost any mountain bike would make a good bike packing bike. If you will be mostly off road on single track terrain, this is the best choice. Single track is a mountain bike trail that is just the width of the bike as opposed to a road wide enough for a 4×4 vehicle to pass.
Touring Bikes are meant for carrying heavier loads than just the cyclists’ weight so they are stronger and more comfortable with more stability.
The Gear
So the goal is to have fun rolling on the bike not being loaded down with stuff. Therefore it’s needless to say that we are looking to pack as light as possible. First up is what are we going to put our things in, where are we going to put them on the bike and decide which options are best for what adventure we are planning.

Bags, Packs and Racks
There are two distinct styles when considering how we are going to carry our gear on the bike. One is panniers and racks and the other is bike packing bags.
The more traditional method is attaching racks to the bike and then attaching panniers which are bags to the racks. You could potentially have two panniers in the rear and two on the front, but most often it’s two in the rear. Racks and panniers are often associated with bike touring for longer trips with heavier gear and more of it. You’re more likely to be riding on smooth roads. The setbacks are you are less aerodynamic so more challenging to maneuver on trail routes and racks can easily break if you have a fall.
The other method which as I said I will focus on the most in this article is using bike packing bags. This is when you attach the bags directly onto the bike. The main options for placing packs on the bike are
1) Under the seat post. In general put softer things in here such as a sleeping bag, extra clothes etc. If you have a heavier item, put it in the bag first closest to the saddle. You want to minimize movement of the bag once you start rolling. Be sure to get a bag that is either waterproof or has an inner bag that is waterproof. Put things in here that you won’t need during the day while you’re riding.
2) On the handle bars. Again put softer things in here that you won’t need while riding such as a tent or shelter, sleeping extras or clothes. Finding just the right handlebar bag can be tricky because you don’t want it too big or too heavy as it could interfere with the handling of your bike.
3) On the frame is where you would put your heavier items such as cookware, food items but also things you may need easy access to while riding like a map or rainwear.
4) Tube top bags for smaller items that you would need while riding such as a phone, fuelling or money.

The biggest advantage with bags is the streamline fit. I rode with a rather large bag under my seat and was amazed at how easy it was to handle the bike while both climbing and descending. You don’t have to worry about the breakage if you fall and it sort of forces you to pack light. Which leads to some negatives as you will need to limit what you carry and you will have to have a packing strategy; you can’t just smash it all in. It can be harder to remove the bag from the bike. However now there are newer models that have a bag within the bag so that you can take the inner bag out with your things and leave the outer bag or shell on the bike.
If you are going to be going on rugged terrain, single track trails, or plan to be doing serious climbing and descending, the bike bags are probably your best option.
The Check Lists
Now that we’ve discussed bikes and bags, it’s time to talk about what we’ve going to take. I have included checklists as it all depends on where you want to go and for how long. It goes without saying that there’s a lot of stuff we may want to take to provide more comfort but as we must ride with our belongings all day, limits are naturally imposed. So when looking at the lists, remember that the lighter the object gets, the more expensive it will be.
Camping Gear
- Sleeping mat
- Sleeping bag, Quilt or Hammock
- Shelter- Bivouac (bivy) shelter, Tent or Tarp
Cooking Gear
- Titanium mug
- Stove
- Lighter
On the Road
- First aid kit
- Map- Phones and a GPS can malfunction
- Power bar recharging unit
- Bike hand pump
- Bike multi tool
- Tire levers
- Spare inner tube
- Head lamp (can also be used when camping)
Tri Gear
- Lightweight running shoes
- Tri suit (for the run and swim)
- Swim goggles and a cap

Planning an Itinerary
Here are some lessons learned for planning following my most recent trip.
This summer I intend to cycle on the roads on my road bike in the region where I live, which is Herault, France. Herault is a department in the region of Occitanie. We are sandwiched between mountains and the sea. My goal is to cycle to some of the most beautiful places in the region, run on the nearby trails and swim either in lakes or the sea. Note that I will be couchsurfing. Yeah, I know, it may seem like cheating but with all the running and swimming, I need a real bed and hot showers. This method suits my goals in training for an Ironman come September. I need to be well rested and not have to worry about transporting food and water in order to follow a real training plan for the swim- bike- run. I’ll be carrying one 10 liter saddle bag.
My itineraries are based on where I can find steep climbs, trail running and open water for swimming. First up is Lake Salagou and Cirque Navacelles about a 4 hour bike ride away from Montpellier where I live. I’ll be staying about 3 km from the lake with an interesting lady named Isabelle.
Day 1
I cycle to her place. Even though it’s only a 3-1/2 hour ride, I’ll be taking a detour to Saint Guilhem-le- Desert for a nice little climb making it a 5 hour ride. Climbing and descending with a full saddle bag was no problem at all. It had very little effect on my climbing time and even though there’s a fast descent with switch backs there was no problem hugging those curves.
Day 2
I’m up and out early to do the tour of Cirque Navacelles. A cirque is a natural amphitheater-like depression formed by glacial erosion and to do this loop alone will be 2000 meters (6,500 feet) of climbing. Yes, it’s beautiful here but the purpose is to get in some tough climbs. Thunderstorms are predicted for the afternoon so I was sort of in a rush and even still by the time I descended into the cirque, I knew I’d possibly get caught in a storm if I completed the entire loop. I still have training to do so I decided to turn around and climb out of this 3 km long stretch of road at a 12% incline and I did it twice. Hill repeats are your go-to strength training when out on the road. One couple at the bottom and a gentleman at the top asked me if I was sick. Seriously…. I responded yes with a smile and continued on fast to beat the storm. Later in the day I had a 1500 meter swim in Lake Salagou.
Day 3
I planned an easy ride around the lake just to spin the legs and find a local bike shop. I wanted to pump the tires well before tomorrow’s long ride back home and indeed it was easy to find. Late afternoon was a trail run amongst the red rock which the entire lake region is composed of. This was followed by a quick swim in the lake and then a short run back to home base.
Day 4
I returned home and of course I took the scenic route which took me 4-1/2 hours. In the four days I cycled a little over 360 kilometers, ran 15km and swam 2500 meters.
In planning an itinerary for wild triathlon training here are my tips:
∙ Choose locations where it’s easy to do all three sports. Finding spots with hard climbs is great because climbing will always make you stronger and when in a pinch do hill repeats.
∙ However you do it, you will need a good night’s sleep and to take in good quality food in order for your training to be productive. Couchsurfing, home stays, hotels, etc. can be useful in achieving this, as well as lightening your load on the bike.
∙ Ensure there are local bike shops in the region where you’re headed. You never know what could happen.
∙ Have a rough training plan and stick to it as best you can. If you’ve been in the saddle all day it’s easy to talk yourself out of swimming or running. In that plan, while you will definitely have hard day,s try to include some easy days in which you cycle on flat or flat-ish roads.
∙ Don’t get too crazy with the cycling distances from one point to the next until you know how much you can handle daily. Have itinerary options in case of storms, road work or detours. ∙ The key to riding every day is to literally ride every day and if you alternate intensity and distance you’ll find after the third day, it becomes easier to get out there even if you’re tired.

Gyl Golden is a writer, instructor and 8- time Ironman distance finisher. She is head coach at Golden Triathlon Coaching where she offers online coaching and training plans. In 2018 she cycled the entire Tour de France route one day before in the efforts of advancing women’s cycling. She is based in Montpellier, France where she is always in search of new backroads to explore by bike.
Follow Gyl at Ironwoman For The Ocean on Facebook and on Instagram @ironwomanfortheocean and check out her coaching page at goldentriathloncoaching.com and Golden Triathlon Coaching on Facebook.